
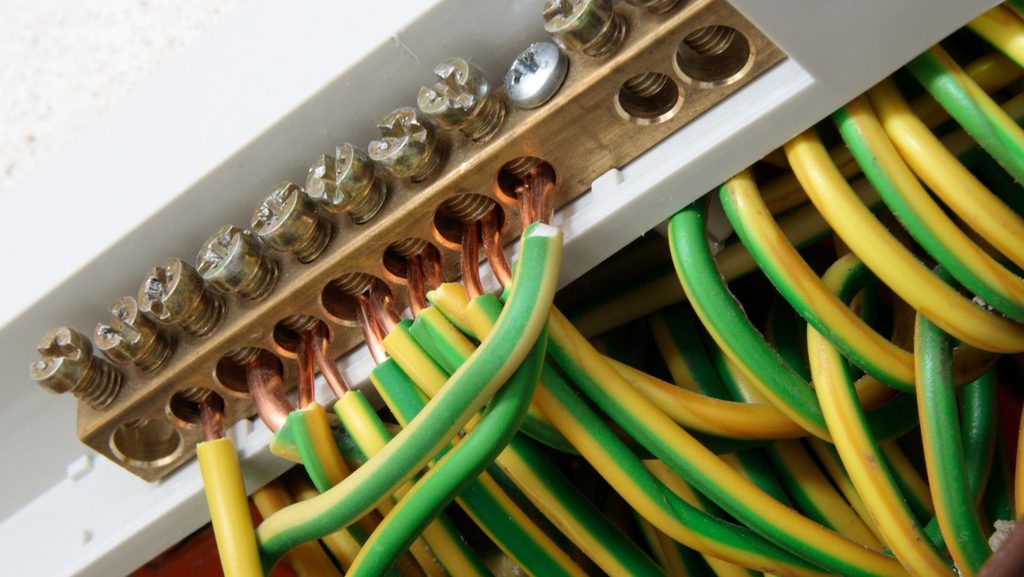
An electrical run is only as dependable as the terminations holding it together. High amp loads and serious heat converge right at these junction points, meaning any shortcut in terminal prep introduces a ticking time bomb into the distribution chain. Slap a loose connector onto a heavy feeder or mismatch the lug to the conductor gauge, and contact resistance climbs fast. That localized heat degrades surrounding wire insulation, sparks arcing, and can easily take down an entire plant floor or trigger a panel fire.
Terminal types and where they belong on the job
Electrical panels, switchgear, and motor leads each demand specific termination hardware to handle mechanical strain and current draw:
· Wire ferrules (insulated and uninsulated): Sleeve over fine-stranded conductors before landing them in spring-cage or screw clamps, keeping delicate copper strands from splaying or getting chopped off.
· Spade/fork terminals: Slip under a screw head without pulling the fastener completely out, handy for quick servicing, though vulnerable if the screw backs out.
· Closed-loop lugs: When vibration or critical uptime rules out accidental pull-out, bolting down a solid ring terminal remains the undisputed standard. Its closed eyelet locks the conductor onto the stud, ensuring full surface contact even if the mounting hardware works slightly loose under load.
Why ring terminals dominate heavy industrial gear
You will spot ring-style lugs bolted across copper busbars, transformers, motor contactors, and chassis grounding studs throughout heavy industry. In these spots, constant vibration from pumps, gearboxes, and variable frequency drives shakes open forks or push-on disconnects right off their studs.
A through-bolt locks the assembly down against severe mechanical shock and cable sway. Clamped beneath a flat washer and metric bolt, the closed circular eyelet spreads clamping force evenly across the contact pad. That tight mechanical sandwich prevents the micro-fretting and creeping air gaps that lead to oxidation and thermal runaway.
Sizing rules: wire gauge, stud holes, and metallurgy
Getting a solid crimp comes down to matching three specs without cutting corners on the bench:
· Barrel size vs. wire gauge: The barrel inside diameter must match the conductor’s nominal cross-section (AWG or ). An oversized barrel leaves loose voids inside the crimp, while an undersized one tempts electricians to trim away copper strands, slashing the conductor’s true current-carrying capacity.
· Stud hole clearance: The eyelet hole must fit the stud cleanly without sloppy play. Sloppy tolerances shrink the active conductive footprint between the lug pad and the busbar.
· Base metallurgy: Insist on annealed, high-conductivity electrolytic copper with a protective electro-tin plating. Annealed copper deforms smoothly under hydraulic crimpers without cracking, while the tin barrier stops galvanic corrosion cold over years of service.
Crimping practices, tooling, and common blunders
A solid electrical crimp requires seamless interaction between conductor, lug, die, and crimp tool. Grabbing a pair of slip-joint pliers or using mismatched dies ruins the crimp geometry. You either leave air pockets between strands that boost resistance, or over-crimp until the tool shears the copper core.
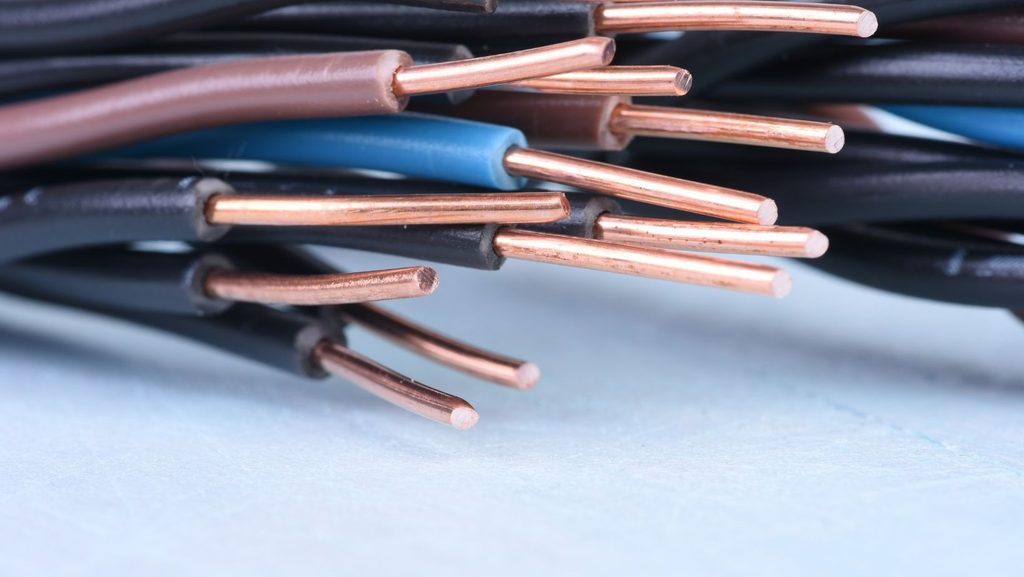
Proper termination starts with clean wire stripping that leaves every copper strand intact. Push the stripped wire all the way to the inspection window of the barrel so the die can cold-form the metal into a solid, gas-tight mass that locks out moisture and oxygen.
Final inspection and torque-wrench verification
Before throwing the main breaker and putting power through the cabinet, inspect every bolted lug by eye and with calibrated tools. Check the barrel for hairline cracks and confirm copper strands fully fill the throat.
When landing lugs on power terminals, always pull out a calibrated torque wrench set to the manufacturer’s exact inch-pound or Newton-meter spec. Guessing torque leads to stripped threads or undertightened joints that overheat under load. Combining properly sized copper hardware, calibrated crimp dies, and verified torque specs turns standard panel assembly into a durable, code-compliant installation that lasts decades.