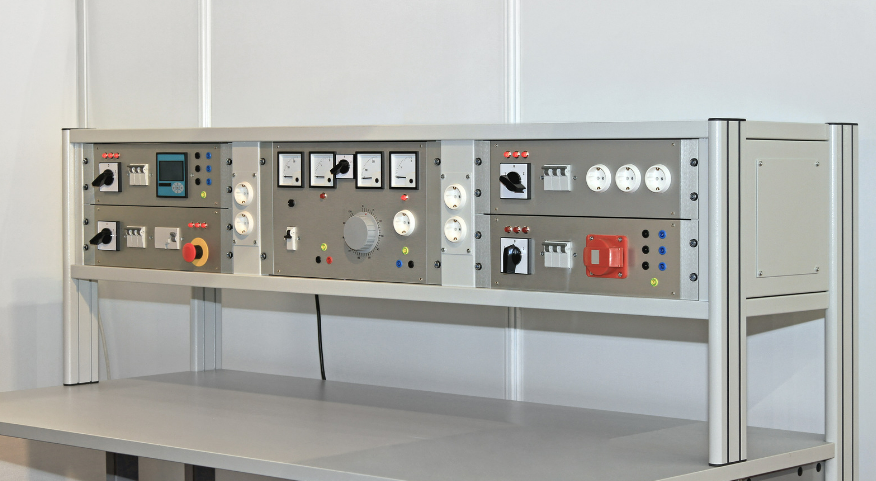
As an electronics enthusiast, having a well-equipped DIY electronics workbench is essential for any project. From soldering irons to multimeters, the right tools can make all the difference in your work efficiency and precision. In this article, I’ll share my tips and tricks for setting up the ultimate DIY electronics workbench that suits your needs and budget.
Whether you’re a beginner or a seasoned pro, organizing your workspace is key to a successful project. I’ll guide you through the must-have essentials, such as a sturdy work surface, adequate lighting, and storage solutions for your components and tools. With the right setup, you’ll be ready to tackle any electronics project with confidence and ease.
Diy Electronics Workbench
When it comes to setting up your DIY electronics workbench, selecting the right workspace is crucial. Here are some key points to consider:
- Location: Find a spot with good ventilation to keep your workspace cool.
- Size: Ensure your workspace is spacious enough to accommodate your tools and projects comfortably.
- Comfort: Invest in an ergonomic chair to support your back during long hours of work.
- Accessibility: Keep frequently used tools within arm’s reach for efficiency.
Remember, your workspace is where creativity and productivity come together.
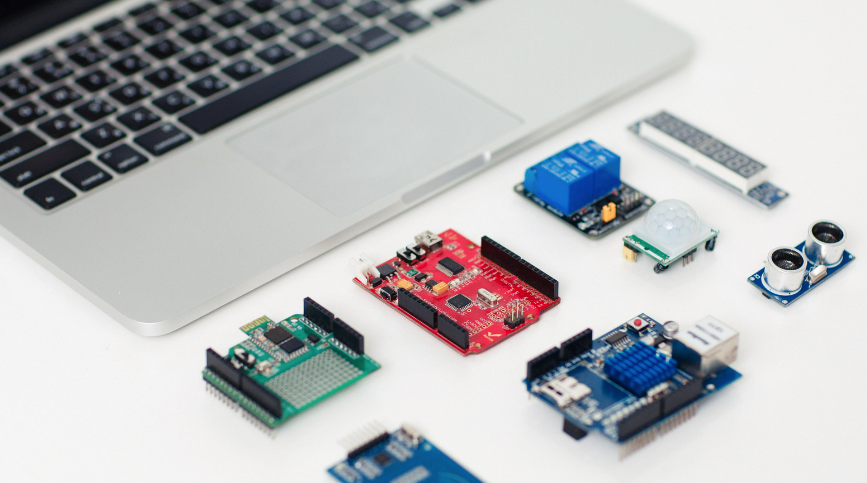
Essential Tools for Your Workbench
When setting up a DIY electronics workbench, having the right tools is crucial for a smooth and efficient workflow. Here are some essential tools that I recommend for your workbench:
- Multimeter: An indispensable tool for measuring voltage, current, and resistance in electronic circuits.
- Soldering Iron: Essential for soldering components onto circuit boards and making electrical connections.
- Wire Cutters and Strippers: To cut and strip wires cleanly for soldering and connecting components.
- Helping Hands Tool: A handy tool for holding circuit boards and wires in place while you work.
- Desoldering Pump or Braid: Useful for removing excess solder from joints and components.
- Side Cutters: For cutting component leads and trimming excess wire.
- Tweezers: Precise handling of small components and for placing them accurately on the circuit board.
- Breadboard: Great for prototyping circuits without soldering, allowing for easy testing and modifications.
- Power Supply: Provides the necessary power for testing and powering electronic projects.
- Storage Bins: Organize small components, screws, and tools for easy access and a tidy workspace.
Equipping your workbench with these essential tools will not only streamline your projects but also enhance your overall DIY electronics experience.
Lighting and Ergonomics
When setting up my DIY electronics workbench, proper lighting is key to ensure accurate work and prevent eye strain. I prefer using LED light strips or adjustable desk lamps for focused illumination. The right light can make a significant difference in detail-oriented tasks like soldering.
Ergonomics is often overlooked but crucial for long hours of work. I always make sure my workbench is at the right height to prevent back strain. Additionally, investing in an adjustable chair with good back support can greatly enhance comfort during extended projects.

Storage Solutions
When it comes to setting up a DIY electronics workbench, having efficient storage solutions is key. Here are some tips to keep your workspace organized and clutter-free:
- Use bins and drawers: Keep small components, such as resistors, capacitors, and screws, neatly stored in labeled bins or drawers. This makes it easy to find what you need quickly.
- Invest in shelving units: Utilize shelving units to store larger tools and equipment, such as soldering irons, multimeters, and power supplies. This helps free up workspace on your bench.
- Wall-mounted organizers: Consider installing wall-mounted organizers for frequently used tools like screwdrivers, pliers, and wire cutters. This not only saves space but also keeps these tools within arm’s reach.
- Cable management: Use cable ties, clips, or cable sleeves to keep wires and cables organized. This prevents tangling and tripping hazards, making your workspace safer and more efficient.
- Label everything: Make use of labels or a labeling machine to mark bins, drawers, and containers. This simple step can save you time and frustration when searching for specific components or tools.
By implementing these storage solutions, you can create a well-organized and functional DIY electronics workbench that enhances your productivity and workflow. Regularly decluttering and reevaluating your storage system will help maintain an efficient workspace for all your projects.